第41节 速读 horizon 源码,核心设计思想
❤️💕💕记录sealos开源项目的学习过程。k8s,docker和云原生的学习。Myblog:http://nsddd.top
[TOC]
开始
由于 horzon 项目理解的并没有 sealer、sealos 深入,算是一个从零开始学习的项目。
准备速过一遍 horzon 的源码,以及部分的细节,先看目录结构,分析现在的基本功能,再观察第一个 PR,以及最开始的 Important issue。
目录结构
❯ tree -L 2
.
├── CODE-OF-CONDUCT.md
├── CONTRIBUTING.md
├── Horizon.svg
├── LICENSE
├── Makefile
├── README.md
├── README_ZH-CN.md
├── bin
│   └── app
├── build
│   ├── build.sh
│   ├── core
│   └── swagger
├── build-json-schema.json
├── build-ui-schema.json
├── config.yaml
├── core
│   ├── cmd
│   ├── common
│   ├── config
│   ├── controller
│   ├── errors
│   ├── http
│   ├── main.go
│   └── middleware
├── db
│   ├── 20210908_initial_schema.sql
│   ├── 20211124.sql
│   ├── 20211125.sql
│   ├── 20220113.sql
│   ├── 20220124.sql
│   ├── 20220330.sql
│   ├── 20220516.sql
│   ├── 20220519.sql
│   ├── 20220712.sql
│   ├── 20220722.sql
│   ├── 20220816.sql
│   ├── 20220823.sql
│   ├── 20220824.sql
│   ├── 20220908.sql
│   ├── 20220920.sql
│   ├── 20220921.sql
│   ├── 20221031.sql
│   ├── 20221110.sql
│   ├── 20221111.sql
│   ├── 20221117.sql
│   ├── 20221121.sql
│   ├── 20221201.sql
│   ├── 20230302.sql
│   └── migrations
├── go.mod
├── go.sum
├── image
│   └── readme
├── integrationtest
│   └── authpagerender_test.go
├── lib
│   ├── gitlab
│   ├── orm
│   ├── q
│   └── s3
├── mock
│   ├── lib
│   └── pkg
├── openapi
│   ├── v1
│   └── v2
├── pkg
│   ├── accesstoken
│   ├── application
│   ├── applicationregion
│   ├── auth
│   ├── authentication
│   ├── cluster
│   ├── common
│   ├── config
│   ├── context
│   ├── environment
│   ├── environmentregion
│   ├── errors
│   ├── event
│   ├── eventhandler
│   ├── git
│   ├── grafana
│   ├── group
│   ├── hook
│   ├── horizonapp
│   ├── idp
│   ├── jobs
│   ├── member
│   ├── oauth
│   ├── param
│   ├── pipelinerun
│   ├── rbac
│   ├── region
│   ├── registry
│   ├── server
│   ├── tag
│   ├── template
│   ├── templaterelease
│   ├── templaterepo
│   ├── templateschematag
│   ├── token
│   ├── user
│   ├── userlink
│   ├── util
│   └── webhook
├── roles.yaml
├── scopes.yaml
└── scripts
    ├── install.sh
    ├── k3s
    └── make-rules
注意 k3s 和 make-rules 还没有合并进去,我们📜 对上面的解释:
CODE-OF-CONDUCT.md:行为守则。CONTRIBUTING.md:贡献指南。Horizon.svg:项目图标。LICENSE:开源许可证。Makefile:构建脚本。README.md:项目说明文档。README_ZH-CN.md:中文说明文档。bin/app:二进制文件。build/build.sh:构建脚本。build/core:构建核心。build/swagger:构建 swagger 文档。build-json-schema.json:JSON 架构文件。build-ui-schema.json:UI 架构文件。config.yaml:配置文件。core:核心代码。db:数据库脚本。go.mod和go.sum:依赖管理文件。image/readme:镜像说明文档。integrationtest/authpagerender_test.go:集成测试代码。lib/gitlab:GitLab 相关代码。lib/orm:ORM 相关代码。lib/q:查询相关代码。lib/s3:S3 相关代码。mock:模拟代码。openapi:OpenAPI 相关代码。pkg:公共包。roles.yaml:角色配置文件。scopes.yaml:作用域配置文件。scripts:脚本文件。
Maybe it can be fix:
build迁移到scripts中,Dockerfile 迁移出来core目录改成internal目录
第一版
很可惜的是 horizon 并没有 0.1 版本的,而是从 2.0.1 开始开源的:
v2.0.1
v2.0.10
v2.0.11
v2.0.12
v2.0.2
v2.0.2-rc1
v2.0.3
v2.0.4
v2.0.5
v2.0.6
v2.0.7
v2.0.8
v2.0.9
这样看着太不友好了,同样对于 分支的 设定:
dependabot/go_modules/github.com/prometheus/client_golang-1.11.1
dependabot/go_modules/golang.org/x/net-0.7.0
dependabot/go_modules/helm.sh/helm/v3-3.11.1
kilosonc-patch-1
kilosonc-patch-2
kilosonc-patch-3
main
项目中也没用 CHANGELOG 来描述版本信息的变更,这里可以改变下,好有 CHANGELOG 用来展示每个版本之间的变更内容,作为 Release Note 的一部分。但是,如果每次都要手动编写 CHANGELOG,会很麻烦,也不容易坚持,所以这里我们可以借助git-chglogopen in new window工具来自动生成。
不仅如此,一个项目也需要有一个版本号,当前用得比较多的是语义化版本号规范。但如果靠开发者手动打版本号,工作效率低不说,经常还会出现漏打、打的版本号不规范等问题。所以最好的办法是,版本号也通过工具自动生成。在这里我们可以采用gsemveropen in new window工具来自动生成版本号。
我们可以将其放入到 scripts/ensure_tag.sh 脚本中,可以通过 Makefile 和 CI 流程进行调用。
除此之外,对于一个优质的开源项目来说,分为开发阶段和测试解决,这些都是可以用 CICD 流程进行控制的。在开发阶段生成代码、版权检查、代码格式化、静态代码检查、单元测试、构建等操作都是可以应用到 Makefile 和 CICD 流的。
我们 阅读下 horizon 最早的版本(由于并没有对应合适的 branch 和 tag,我们选择 Frist commit):
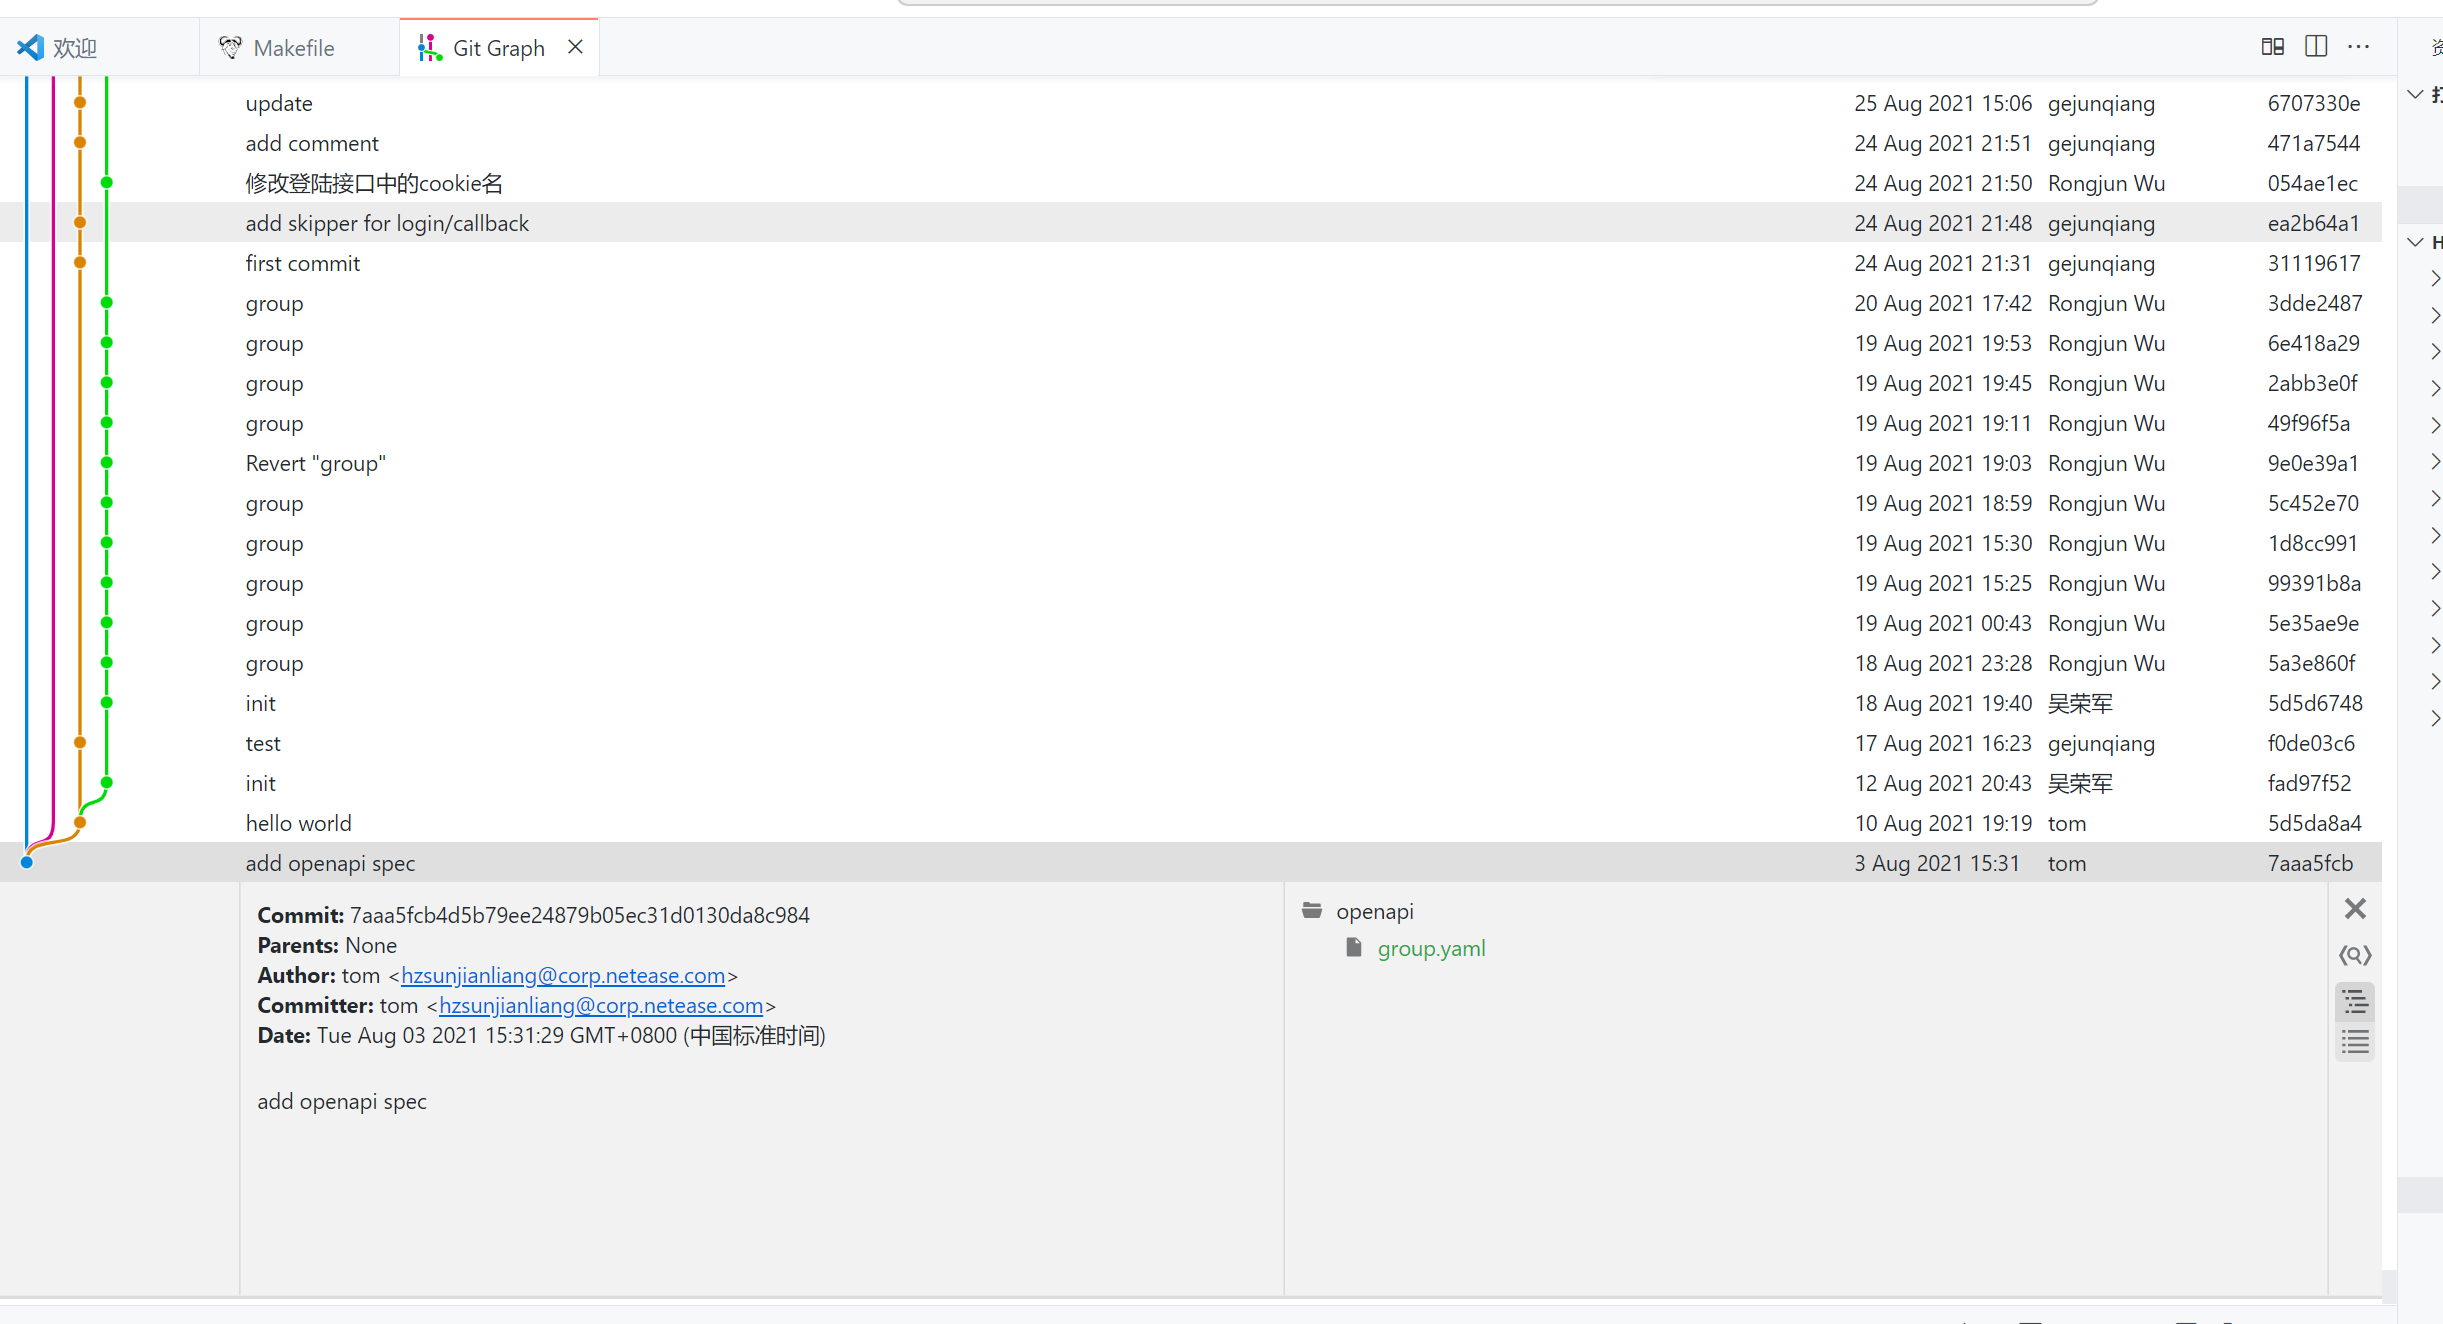
第一个版本的提交是对 openAPI 的规范
OpenAPI 是一种规范,用于定义 RESTful API,它基于 JSON 或 YAML 格式,用于描述 API 的输入参数、输出结果等详细信息,以便于生成客户端 SDK 和 API 文档。在 Horizon 项目中,openapi 文件夹存放着 OpenAPI 相关的代码。
openapi: 3.0.0
info:
  title: Horizon Group API
  description: |
    This API
  version: 1.0.0
tags:
  - name: group
paths:
  /groups:
    get:
      operationId: listGroups
      summary: list groups
      parameters:
        - $ref: "#/components/parameters/searchParam"
      responses:
        "201":
          description: null response
        default:
          description: Unexpected error
          content:
            application/json:
              schema:
                $ref: "#/components/schemas/error"
  /group:
    post:
      operationId: createGroup
      summary: create a group
      requestBody:
        required: true
        content:
          application/json:
            schema:
              $ref: "#/components/schemas/newGroup"
      responses:
        "201":
          description: null response
        default:
          description: Unexpected error
          content:
            application/json:
              schema:
                $ref: "#/components/schemas/error"
  /group/{group}:
    parameters:
      - $ref: "#/components/parameters/groupParam"
    get:
      operationId: getGroupDetail
      summary: get the detail of a group
      responses:
        '200':
          description: Expected response to a valid request
          content:
            application/json:
              schema:
                $ref: "#/components/schemas/groupDetail"
        default:
          description: Unexpected error
          content:
            application/json:
              schema:
                $ref: "#/components/schemas/error"
    put:
      operationId: updateGroupDetail
      summary: update detail of a group
      requestBody:
        required: true
        content:
          application/json:
            schema:
              $ref: '#/components/schemas/groupDetail'
      responses:
        '200':
          description: Update result
          content:
            application/json:
              schema:
                $ref: '#/components/schemas/groupDetail'
        default:
          description:  Unexpected error
          content:
            application/json:
              schema:
                $ref: '#/components/schemas/error'
    delete:
      operationId: deleteGroup
      summary: delete an empty group
      responses:
        '200':
          description: null response
        default:
          description:  Unexpected error
          content:
            application/json:
              schema:
                $ref: '#/components/schemas/error'
  /group/{group}/subgroups:
    parameters:
      - $ref: "#/components/parameters/groupParam"
      - $ref: "#/components/parameters/searchParam"
    get:
      operationId: listSubGroups
      responses:
        '200':
          description: Return the list of groups
          content:
            application/json:
              schema:
                type: array
                items:
                  $ref: '#/components/schemas/groupDetail'
  /group/{group}/services:
    parameters:
      - $ref: "#/components/parameters/groupParam"
      - $ref: "#/components/parameters/searchParam"
    get:
      operationId: listGroupService
      responses:
        '200':
          description: Return the list of service
          content:
            application/json:
              schema:
                type: array
                items:
                  $ref: 'service.yaml#/components/schemas/serviceDetail'
components:
  parameters:
    groupParam:
      name: group
      in: path
      required: true
      schema:
        type: string
    searchParam:
      name: search
      in: query
      description: Return the list of authorized groups matching the search criteria
      required: false
      schema:
        type: string
  schemas:
    queryGroup:
      type: string
      maxLength: 100
      description: param for querying group
    newGroup:
      type: object
      required:
        - name
        - path
        - visibilityLevel
      properties:
        name:
          $ref: '#/components/schemas/groupName'
        path:
          $ref: '#/components/schemas/groupPath'
        description:
          $ref: '#/components/schemas/groupDescription'
        visibilityLevel:
          $ref: '#/components/schemas/visibilityLevel'
        parantId:
          $ref: '#/components/schemas/groupId'

    groupDetail:
      type: object
      properties:
        id:
          $ref: '#/components/schemas/groupId'
        name:
          $ref: '#/components/schemas/groupName'
        path:
          $ref: '#/components/schemas/groupPath'
        description:
          $ref: '#/components/schemas/groupDescription'
        visibilityLevel:
          $ref: '#/components/schemas/visibilityLevel'
        createTime:
          $ref: '#/components/schemas/date'
    date:
      type: string
      format: date
      pattern: full-date
    groupId:
      type: integer
      format: int64
      description: the parent id of the subgroup,if not provided. a root group
    groupName:
      type: string
      maxLength: 64
      description: the group Name
    groupPath:
      type: string
      maxLength: 1024
      description: the group path
    visibilityLevel:
      type: integer
      format: int32
      enum: [0,1]
      default: 0
      description: 0 means public(every one can see the group), 1 means private one member can see
    groupDescription:
      type: string
      maxLength: 1024
      description: the group description
    error:
      type: object
      required:
        - code
        - message
      properties:
        code:
          type: integer
          format: int32
        message:
          type: string
Swagger 和 OpenAPI 的区别:
优化: 用 go-swagger 来生成 Swagger API 文档
为什么不用 swag?
- go-swagger 比 swag 功能更强大: go-swagger 提供了更灵活、更多的功能来描述我们的 API。
- 使我们的代码更易读:如果使用 swag,我们每一个 API 都需要有一个冗长的注释,有时候代码注释比代码还要长,但是通过 go-swagger 我们可以将代码和注释分开编写,一方面可以使我们的代码保持简洁,清晰易读,另一方面我们可以在另外一个包中,统一管理这些 Swagger API 文档定义。
- 更好的社区支持:go-swagger 目前有非常多的 Github star 数,出现 Bug 的概率很小,并且处在一个频繁更新的活跃状态。
nocalhost
nocalhost 是一种基于 Kubernetes 的本地开发平台,它可以帮助开发者在本地快速构建和测试应用程序。使用 nocalhost,你可以轻松地在本地运行完整的 Kubernetes 环境,并在其中部署和测试应用程序。以下是 nocalhost 的主要功能:
- 通过
nocalhost,你可以在本地启动一个完整的 Kubernetes 环境,包括所有必要的组件和插件。 nocalhost支持各种不同类型的应用程序,包括 Java、Node.js、Python 等。- 你可以使用
nocalhost在本地构建和运行应用程序,以便于开发和测试。 nocalhost还提供了一些有用的工具和插件,例如调试器、日志查看器、数据库管理器等。nocalhost还提供了完整的文档和教程,以便于开发者快速上手。
main 入口
从 main.go 函数开始阅读:
func main() {
	cmd.Run(cmd.ParseFlags())
}
从 Run 函数开始实现逻辑:
// Run runs the agent.
func Run(flags *Flags) {
	ctx, cancelFunc := context.WithCancel(context.Background())
	setTasksBeforeExit(cancelFunc)
	configs, err := LoadConfig(flags)
	if err != nil {
		panic(err)
	}
	// enable pprof
	runPProfServer(&configs.PProf)
	// init api
	Init(ctx, flags, configs)
}
Run 函数实现的逻辑很简单:
- 接受一个
flags参数,它包含了代理运行的一些配置信息。 - 创建了一个上下文(
ctx)和一个取消函数(cancelFunc)。这些变量用于在代理运行过程中控制程序的行为。 - 调用了
LoadConfig函数,该函数用于加载代理的配置信息。如果代理配置信息加载失败,则会抛出一个异常。 - 调用了
runPProfServer函数,该函数用于启动pprof服务器,以便于进行性能调试和优化。 - 最后,
Run函数调用了Init函数,该函数用于初始化代理并启动 API 服务。
查看 Init() 函数的实现逻辑:
初始化逻辑有些复杂,实现的部分应该尽可能的放在
pkg或者internal目录下面。
大致的步骤如下:
- 初始化群组服务、管理器
- 初始化集群服务、用户服务、令牌服务、Grafana 服务等
- 创建一个参数对象,该对象包含了所有服务和服务所需的参数
- 初始化控制器,例如成员控制器、应用程序控制器、环境模板控制器等
- 初始化 API,包括 v1 API 和 v2 API,并将它们注册到路由中
- 启动云事件服务器,以便在云中处理事件
- 启动 API 服务器并监听端口
使用 gorm 作为回调函数:
func RegisterCustomCallbacks(db *gorm.DB) {
	_ = db.Callback().Create().After("gorm:before_create").Before("gorm:create").
		Register("add_created_by", addCreatedByUpdatedByForCreateCallback)

	_ = db.Callback().Update().After("gorm:before_update").Before("gorm:update").
		Register("add_updated_by", addUpdatedByForUpdateDeleteCallback)

	_ = db.Callback().Delete().After("gorm:before_delete").Before("gorm:delete").
		Register("add_updated_by", addUpdatedByForUpdateDeleteCallback)
}
主要是在执行数据库操作前后执行一些自定义的逻辑。它包含了三个回调函数:Create、Update 和 Delete。每个回调函数都在 GORM 的某个操作之前或之后被调用,并在回调函数中执行一些自定义的逻辑。例如,回调函数 "add_created_by" 和 "add_updated_by" 用于在创建或更新数据时添加一个 "created_by" 或 "updated_by" 字段,用于记录数据的创建或更新者。其中,addCreatedByUpdatedByForCreateCallback 和 addUpdatedByForUpdateDeleteCallback 是两个自定义函数,它们分别用于创建和更新/删除操作中的回调逻辑。该函数还包括了一些 GORM 的回调注册逻辑,用于将自定义的回调函数注册到 GORM 中,以便在执行数据库操作时自动调用这些回调函数。
dao
和 Java 的风格类似, horizon 中有很多都是 dao 目录,dao目录是一种常见的命名规范,代表数据访问对象(Data Access Object)。它通常用于存储与数据库交互的代码和相关逻辑。DAO模式分离了业务逻辑和数据访问逻辑,使得代码更易于维护和扩展。
在 horizon 中,dao目录通常包含一些文件,如dao.go等,其中包含与数据库交互的方法和函数。这些方法和函数可以在其他代码中被引用,用于数据的读取、写入和更新等操作。
这样可以保持代码的清晰,逻辑明确。
dao 的设计如下,我们以其中的 registry 目录为例:
包含了接口作为抽象层,供外部调用:
type DAO interface {
	// Create a registry
	Create(ctx context.Context, registry *models.Registry) (uint, error)
	// UpdateByID update a registry
	UpdateByID(ctx context.Context, id uint, registry *models.Registry) error
	// DeleteByID delete a registry by id
	DeleteByID(ctx context.Context, id uint) error
	// GetByID get by id
	GetByID(ctx context.Context, id uint) (*models.Registry, error)
	// ListAll list all registries
	ListAll(ctx context.Context) ([]*models.Registry, error)
}
DAO 接口中的 Create、UpdateByID、DeleteByID、GetByID 和 ListAll 方法都是对 registry 表进行了不同的操作。Create 方法是用来创建一个新的 registry,UpdateByID 方法是用来更新 registry 表中指定 ID 的记录,DeleteByID 方法是用来删除 registry 表中指定 ID 的记录,GetByID 方法是用来获取 registry 表中指定 ID 的记录,而 ListAll 方法是用来获取 registry 表中所有记录的列表。
DAO 接口定义了对 registry 表的增删改查操作,而 dao 结构体实现了这些接口。它都使用了 GORM 库来操作数据库:
type dao struct{ db *gorm.DB }
// NewDAO returns an instance of the default DAO
func NewDAO(db *gorm.DB) DAO {
	return &dao{db: db}
}
还有一个 NewDAO 函数,返回的是一个接口,因为 DAO 将数据层面和业务层面剥开了。
需要 NewDAO 函数的原因是因为 DAO 接口和 dao 结构体是分离的。DAO 接口只定义了对 registry 表的增删改查操作,而 dao 结构体实现了这些操作。为了方便使用 DAO 接口,我们需要一个函数来创建 dao 结构体的实例,这个实例可以被用来调用 DAO 接口中定义的方法。
在 GORM 中,我们需要使用一个数据库连接来进行操作。因此,NewDAO 函数需要一个 GORM 数据库连接作为参数。这个数据库连接可以通过 GORM 库的 Open 函数来创建,然后再传递给 NewDAO 函数。这样就可以创建一个 dao 结构体的实例,用来对数据库中的 registry 表进行 CURD 操作了。
manager
我一直很好奇为什么我们有了 dao 还需要 manager , 这里使用了 DAO 设计模式和依赖注入(DI)设计模式。
package manager

import (
	"context"

	"github.com/horizoncd/horizon/pkg/registry/dao"
	"github.com/horizoncd/horizon/pkg/registry/models"
	"gorm.io/gorm"
)

type Manager interface {
	// Create a registry
	Create(ctx context.Context, registry *models.Registry) (uint, error)
	// UpdateByID update a registry
	UpdateByID(ctx context.Context, id uint, registry *models.Registry) error
	// DeleteByID delete a registry by id
	DeleteByID(ctx context.Context, id uint) error
	// GetByID get by id
	GetByID(ctx context.Context, id uint) (*models.Registry, error)
	// ListAll list all registries
	ListAll(ctx context.Context) ([]*models.Registry, error)
}

type manager struct {
	registryDAO dao.DAO
}

func New(db *gorm.DB) Manager {
	return &manager{
		registryDAO: dao.NewDAO(db),
	}
}

func (m manager) Create(ctx context.Context, registry *models.Registry) (uint, error) {
	return m.registryDAO.Create(ctx, registry)
}

func (m manager) GetByID(ctx context.Context, id uint) (*models.Registry, error) {
	return m.registryDAO.GetByID(ctx, id)
}

func (m manager) ListAll(ctx context.Context) ([]*models.Registry, error) {
	return m.registryDAO.ListAll(ctx)
}

func (m manager) UpdateByID(ctx context.Context, id uint, registry *models.Registry) error {
	return m.registryDAO.UpdateByID(ctx, id, registry)
}

func (m manager) DeleteByID(ctx context.Context, id uint) error {
	return m.registryDAO.DeleteByID(ctx, id)
}
manager 目录实现了 Manager 接口。Manager 接口是对 DAO 接口的进一步封装,提供了更高层次的抽象。它定义了对 registry 表的增删改查操作,这些操作是通过 DAO 接口来实现的。
它对 DAO 接口进行了进一步的封装,提供了更高层次的抽象。这样就可以将 DAO 接口与具体的实现分离,使代码更加清晰易懂。
当然,在这里 horizon 实现的功能就是这么一些,除此之外,它还可以对 DAO 接口中的方法进行统一处理,例如进行错误处理和日志记录。这样就可以提高代码的可维护性和可读性。
models
models 包定义了与 registry 表相关的数据结构。它包含了一个名为 Registry 的结构体,用来表示 registry 表中的一条记录。
package models

import (
	"github.com/horizoncd/horizon/pkg/server/global"
)

type Registry struct {
	global.Model

	Name   string
	Server string
	Path   string
	Token  string
	// for delete
	InsecureSkipTLSVerify bool `gorm:"column:insecure_skip_tls_verify"`
	Kind                  string
}
Registry 结构体的字段与 registry 表中的字段一一对应。它包含了 ID、Name、Server、Path、Token、InsecureSkipTLSVerify 和 Kind 七个字段。
- ID:registry 记录的唯一标识符。
- CreatedAt:registry 记录的创建时间。
- UpdatedAt:registry 记录的更新时间。
- DeletedAt:registry 记录的删除时间。
- Name:registry 的名称。
- Server:registry 的服务器地址。
- Path:registry 的地址路径。
- Token:registry 的访问令牌。
- InsecureSkipTLSVerify:是否忽略 TLS 验证。
- Kind:registry 的类型。
Registry 结构体还定义了 TableName 方法,用来指定该结构体对应的表名。
Registry 结构体中的这些字段都是通过 GORM 库的 tags 来映射到数据库中的表和列的。例如,ID 字段映射到了 registry 表中的 id 列,Name 字段映射到了 registry 表中的 name 列。
该 models 包的作用是定义了与 registry 表相关的数据结构,用于在 DAO 和 manager 中进行数据的传递和操作。
设计思想
和 registry 目录类似,我们使用更加强大的 user 目录分析:
❯ tree user
user
├── dao
│   └── dao.go
├── manager
│   ├── manager.go
│   └── manager_test.go
├── models
│   └── user.go
├── service
│   ├── service.go
│   └── service_test.go
└── util
    └── session.go
dao
dao 目录中包含了与用户信息相关的数据访问对象(Data Access Object)。它定义了一个 DAO 接口,用于对 user 表进行增删改查操作。dao 目录的主要作用是封装了对数据库的访问,使得业务逻辑和数据访问逻辑分离开来。
manager
manager 目录中包含了与用户信息相关的业务逻辑。它定义了一个 Manager 接口,用于对 user 表进行增删改查操作。manager 目录的主要作用是将 DAO 接口进一步封装,提供了更高层次的抽象。
models
models 目录中定义了与用户信息相关的数据结构。它包含了一个名为 User 的结构体,用来表示 user 表中的一条记录。User 结构体的字段与 user 表中的字段一一对应。它还定义了 TableName 方法,用来指定该结构体对应的表名。
service
type Service interface {
	// CheckUsersExists check users all exists, if true, return nil
	CheckUsersExists(ctx context.Context, emails []string) error
}

type service struct {
	userManager usermanager.Manager
}
service 目录中包含了与用户信息相关的服务。它定义了一个 Service 接口,用于对 user 表进行增删改查操作。service 目录的主要作用是将业务逻辑(manager) 进一步封装,提供了更高层次的抽象。
util
util 目录中包含了与用户信息相关的工具函数。它定义了一个名为 Session 的结构体,用于表示用户的会话信息。Session 结构体的字段包括了用户的 ID、登录时间和过期时间等信息。它还包含了一些方法,用于生成和验证会话信息。util 目录的主要作用是封装了与会话相关的操作。
设计模式的设计思路和方法:
DAO 设计模式是一种用于将数据访问逻辑与业务逻辑分离的设计模式。它的主要思想是将数据访问逻辑封装到一个单独的类或接口中,并由一个或多个业务逻辑组件使用它。在这个案例中,dao 包定义了 DAO 接口和 dao 结构体,它们分别用于定义和实现对 registry 表的增删改查操作。Manager 接口和 manager 结构体是 DAO 接口的高层次封装,它们进一步将数据访问逻辑和业务逻辑分离开来。这样就可以使代码更加清晰易懂,并且方便维护和扩展。
依赖注入(DI)设计模式是一种用于解耦组件之间依赖关系的设计模式。它的主要思想是将一个组件所依赖的其他组件通过构造函数、方法参数或属性注入的方式来实现。在这个案例中,NewDAO 函数使用了 GORM 数据库连接作为参数,然后将这个参数传递给 dao.NewDAO 函数来创建 dao 结构体的实例。这样就可以将数据库连接与 dao 结构体解耦开来,使代码更加灵活和可扩展。
rbac 目录
作为一个访问控制颗粒度仅仅次于 ABAC 的 RBAC,我们看一下它的源码:
目录结构:
├── rbac
│   ├── auth.go
│   ├── auth_test.go
│   ├── role
│   │   ├── roles.go
│   │   └── roles_test.go
│   └── types
│       ├── eveluation_helpers.go
│       ├── types.go
│       └── types_test.go
📜 对上面的解释:
roles
type CompResult uint8

const (
	RoleEqual CompResult = iota
	RoleBigger
	RoleSmaller
	RoleCanNotCompare
)

const (
	PE         string = "pe"
	Owner      string = "owner"
	Maintainer string = "maintainer"
	Guest      string = "guest"
)

var (
	ErrorRoleNotFound   = errors.New("role not found")
	ErrorLoadCheckError = errors.New("load check error")
)

type Service interface {
	// ListRole Lists all the role
	ListRole(ctx context.Context) ([]types.Role, error)
	// GetRole get role by the role name
	GetRole(ctx context.Context, roleName string) (*types.Role, error)
	// RoleCompare compare if the role1's permission is higher than role2
	RoleCompare(ctx context.Context, role1, role2 string) (CompResult, error)
	// GetDefaultRole return the default role(no default role will return nil)
	GetDefaultRole(ctx context.Context) *types.Role
}

type roleRankMapItem struct {
	rank int
	role types.Role
}
type fileRoleService struct {
	RolePriorityRankDesc []string
	DefaultRoleName      string
	Roles                []types.Role
	DefaultRole          *types.Role
	roleRankMap          map[string]roleRankMapItem
}
roles
roles.go 文件定义了 Service 接口及其默认实现 fileRoleService,这是一个基于文件的角色服务,它从 JSON 文件中读取角色信息。
Service 接口定义了以下方法:
ListRole:列出所有角色。GetRole:根据角色名称获取角色信息。RoleCompare:比较两个角色的优先级。GetDefaultRole:获取默认角色。
fileRoleService 结构体实现了 Service 接口 ~
RolePriorityRankDesc:表示角色优先级的字符串切片。DefaultRoleName:表示默认角色的名称。Roles:表示所有角色的[]Role类型的切片。DefaultRole:表示默认角色的Role类型。
这个结构体还包含一个私有字段 roleRankMap,用于缓存角色的优先级信息。
Roles 字段中存储了所有角色的信息,每个角色都是一个 Role 结构体,包含角色名称、描述和权限规则。其中 PolicyRules 字段是一个 []PolicyRule 类型的切片,表示该角色的所有权限规则。
GetRole 方法根据角色名称获取角色信息。如果指定名称的角色不存在,则返回错误 ErrorRoleNotFound。
RoleCompare 方法比较两个角色的优先级。如果角色 role1 的权限优先级高于 role2,则返回结果 RoleBigger;如果 role1 的权限优先级低于 role2,则返回结果 RoleSmaller。如果两个角色的权限优先级相等,则返回结果 RoleEqual。如果其中一个角色不存在,则返回错误 ErrorRoleNotFound。
GetDefaultRole 方法返回默认角色。如果没有默认角色,则返回 nil。
auth
// Authorizer use the basic rbac rules to check if the user
// have the permissions
type Authorizer interface {
	Authorize(ctx context.Context, attributes auth.Attributes) (auth.Decision, string, error)
}

type VisitorFunc func(fmt.Stringer, *types.PolicyRule, error) bool

func NewAuthorizer(roleservice role.Service, memberservice memberservice.Service) Authorizer {
	return &authorizer{
		roleService:   roleservice,
		memberService: memberservice,
	}
}

type authorizer struct {
	roleService   role.Service
	memberService memberservice.Service
}

const (
	NotChecked        = "not checked"
	ResourceFormatErr = "format error"
	AnonymousUser     = "anonymous user"
	InternalError     = "internal error"
	MemberNotExist    = "member not exist"
	RoleNotExist      = "role not exist"
	AdminAllow        = "admin allows everything"
)
auth 包定义了用于身份验证和访问控制的代码。在这个包中,auth.go 文件定义了 Authorizer 接口及其默认实现 authorizer,用于检查用户是否具有操作资源的权限。
Authorizer 接口:
Authorizer 接口定义了一个 Authorize 方法,用于检查用户是否具有操作资源的权限。该方法接受一个 auth.Attributes 类型的参数,该参数包含用户的身份信息(如用户名、角色等)以及资源信息(如资源名称、操作方式等)。该方法返回一个 auth.Decision 类型的决策结果、一个字符串类型的消息以及一个 error 类型的错误。其中 auth.Decision 类型表示决策的结果,可以是 auth.Allow、auth.Deny 或 auth.Abstain。
authorizer 结构体:
authorizer 结构体实现了 Authorizer 接口,它的字段包括 roleService 和 memberService。其中 roleService 是一个 role.Service 类型的接口,用于获取角色信息,memberService 是一个 memberservice.Service 类型的接口,用于获取用户信息。
authorizer 结构体还包含一些常量,如 NotChecked、ResourceFormatErr、AnonymousUser、InternalError、MemberNotExist 和 RoleNotExist,分别表示未检查、资源格式错误、匿名用户、内部错误、用户不存在和角色不存在。
authorizer 结构体实现了 Authorize 方法,该方法首先检查资源格式是否正确,然后获取用户和角色信息,最后根据角色和权限规则判断用户是否具有操作资源的权限。
types 包详解
types 包定义了与角色和权限相关的数据类型。在这个包中,types.go 文件定义了 Role 和 PolicyRule 结构体。
Role 结构体:
Role 结构体表示一个角色,包含角色的名称、描述和权限规则。定义如下:
type Role struct {
    Name        string       `yaml:"name" json:"name"`
    Desc        string       `yaml:"desc" json:"desc"`
    PolicyRules []PolicyRule `yaml:"rules" json:"rules"`
}
其中 Name 字段表示角色名称,Desc 字段表示角色描述,PolicyRules 字段是一个 []PolicyRule 类型的切片,表示该角色的所有权限规则。
PolicyRule 结构体:
PolicyRule 结构体表示一个权限规则,包含权限的访问方式、资源、操作范围等信息。定义如下:
type PolicyRule struct {
    Verbs           []string `yaml:"verbs" json:"verbs"`
    APIGroups       []string `yaml:"apiGroups" json:"apiGroups"`
    Resources       []string `yaml:"resources" json:"resources"`
    Scopes          []string `yaml:"scopes" json:"scopes"`
    NonResourceURLs []string `yaml:"nonResourceURLs" json:"nonResourceURLs"`
}
其中 Verbs 字段是一个字符串切片,表示权限的访问方式(例如 get、list、create、update 等),APIGroups 字段是一个字符串切片,表示资源所属的 API 组,Resources 字段是一个字符串切片,表示资源名称,Scopes 字段是一个字符串切片,表示操作的范围(例如 namespace 等),NonResourceURLs 字段是一个字符串切片,表示非资源 URL。
在 types.go 文件中还定义了一些常量:
const (
    APIGroupAll    = "*"
    ResourceAll    = "*"
    VerbAll        = "*"
    ScopeAll       = "*"
    NonResourceAll = "*"
)
其中 APIGroupAll、ResourceAll、VerbAll、ScopeAll、NonResourceAll 分别表示所有 API 组、所有资源、所有访问方式、所有操作范围、所有非资源 URL。
END 链接
✴️版权声明 © :本书所有内容遵循CC-BY-SA 3.0协议(署名-相同方式共享)©