重新搭建我的博客(静态)
冤大头回来了 …
太难了这次,准备简历的时候,发现我的博客没了,我最亲爱的,陪伴了一年的,备受好评的博客 nsddd.top 牺牲了 呜呜呜呜
别急别急,吸取教训,第一件事是什么,坚决不用动态博客了,从大一的第一代博客使用 workpress, 那时候用的服务器管理工具是 著名顶顶的 宝塔 , 虽然现在我还在用,哈哈哈,不过以后绝对绝对不会再用了 。第二代博客还记得吗 ,第二代博客就是我刚刚牺牲掉的博客,使用 docker 搭建,存活了两年(大二到大三),服务器中途都换了一次,不过得益于 Docker 优雅的移植性haha,所以我的博客得以存活。
那这次为啥挂了??? 挂的时间是 2023 年 9 月 1 日。原因是 Java 出现故障,发现 swtich 空间不足,然后,准备移植的,修复的,实在是觉得无力维护,我希望我的博客可以长久生存几年,十几年,甚至是几十年上百年。
所以,从头开始 !!!
选择合适的博客模板
之前用过 vuepress 做笔记,vuepress 相对来说不是特别合适我现在做的,因为已经有视觉疲惫了哈哈哈,看着很不舒服,所以用我很喜欢的一个开源项目,大家很多人也耳熟能详的顶级开源项目:hugo , GitHub 地址是:https://github.com/gohugoio/hugo
接下来就是选择合适的主题了,我参考了几个热门的 theme 选择了 https://github.com/adityatelange/hugo-PaperMod
安装 Hugo
我热衷于源码,可以随时改代码,提 PR ,于是用源码构建:
❯ git clone https://github.com/cubxxw/hugo.git
❯ cd hugo
❯ go build
❯ mv hugo /usr/bin
部署主题
选择我们使用的主题:
❯ git clone https://github.com/adityatelange/hugo-PaperMod themes/PaperMod --depth=1

# 如果希望后面更新主题
❯ cd themes/PaperMod
❯ git pull
使用 git submodule with
代码可能是要提交到 Github 的,所以外模块包含子项目的 git 可以用 git submodule 来管理。
❯ git submodule add --depth=1 https://github.com/adityatelange/hugo-PaperMod.git themes/PaperMod
❯ git submodule update --init --recursive # needed when you reclone your repo (submodules may not get cloned automatically)
Note: You may use
--branch v7.0to end of above command if you want to stick to specific release.
用方法2更新主题:
❯ git submodule update --remote --merge
添加主题到 hugo.toml 中:
推荐使用 yaml 或者是 toml ,我比较喜欢用 yaml 哈哈,当然,用 https://tooltt.com/yaml2toml/ 工具可以随便转换
baseURL = 'https://nsddd.top'
languageCode = 'en-us'
title = 'cubxxw is blog'
theme = "PaperMod"

enableRobotsTXT = true
buildDrafts = false
buildFuture = false
buildExpired = false
googleAnalytics = "UA-123-45"
pygmentsUseClasses = true

[minify]
disableXML = true
minifyOutput = true

[params]
env = "production"
title = "ExampleSite"
description = "ExampleSite description"
keywords = [ "Blog", "Portfolio", "PaperMod" ]
author = "Me"
images = [ "<link or path of image for opengraph, twitter-cards>" ]
DateFormat = "January 2, 2006"
defaultTheme = "auto"
disableThemeToggle = false
ShowReadingTime = true
ShowShareButtons = true
ShowPostNavLinks = true
ShowBreadCrumbs = true
ShowCodeCopyButtons = false
ShowWordCount = true
ShowRssButtonInSectionTermList = true
UseHugoToc = true
disableSpecial1stPost = false
disableScrollToTop = false
comments = false
hidemeta = false
hideSummary = false
showtoc = false
tocopen = false

  [params.assets]
  favicon = "<link / abs url>"
  favicon16x16 = "<link / abs url>"
  favicon32x32 = "<link / abs url>"
  apple_touch_icon = "<link / abs url>"
  safari_pinned_tab = "<link / abs url>"

  [params.label]
  text = "Home"
  icon = "/apple-touch-icon.png"
  iconHeight = 35

  [params.profileMode]
  enabled = false
  title = "ExampleSite"
  subtitle = "This is subtitle"
  imageUrl = "<img location>"
  imageWidth = 120
  imageHeight = 120
  imageTitle = "my image"

    [[params.profileMode.buttons]]
    name = "Posts"
    url = "posts"

    [[params.profileMode.buttons]]
    name = "Tags"
    url = "tags"

  [params.homeInfoParams]
  Title = "Hi there 👋"
  Content = "Welcome to my blog"

  [[params.socialIcons]]
  name = "twitter"
  url = "https://twitter.com/"

  [[params.socialIcons]]
  name = "stackoverflow"
  url = "https://stackoverflow.com"

  [[params.socialIcons]]
  name = "github"
  url = "https://github.com/"

[params.analytics.google]
SiteVerificationTag = "XYZabc"

[params.analytics.bing]
SiteVerificationTag = "XYZabc"

[params.analytics.yandex]
SiteVerificationTag = "XYZabc"

  [params.cover]
  hidden = true
  hiddenInList = true
  hiddenInSingle = true

  [params.editPost]
  URL = "https://github.com/<path_to_repo>/content"
  Text = "Suggest Changes"
  appendFilePath = true

  [params.fuseOpts]
  isCaseSensitive = false
  shouldSort = true
  location = 0
  distance = 1_000
  threshold = 0.4
  minMatchCharLength = 0
  keys = [ "title", "permalink", "summary", "content" ]

[[menu.main]]
identifier = "categories"
name = "categories"
url = "/categories/"
weight = 10

[[menu.main]]
identifier = "tags"
name = "tags"
url = "/tags/"
weight = 20

[[menu.main]]
identifier = "example"
name = "example.org"
url = "https://example.org"
weight = 30

[markup.highlight]
noClasses = false
然后就是创建一个文件:
样本
Page.md
---
title: "My 1st post"
date: 2020-09-15T11:30:03+00:00
# weight: 1
# aliases: ["/first"]
tags: ["first"]
author: "Me"
# author: ["Me", "You"] # multiple authors
showToc: true
TocOpen: false
draft: false
hidemeta: false
comments: false
description: "Desc Text."
canonicalURL: "https://canonical.url/to/page"
disableHLJS: true # to disable highlightjs
disableShare: false
disableHLJS: false
hideSummary: false
searchHidden: true
ShowReadingTime: true
ShowBreadCrumbs: true
ShowPostNavLinks: true
ShowWordCount: true
ShowRssButtonInSectionTermList: true
UseHugoToc: true
cover:
    image: "<image path/url>" # image path/url
    alt: "<alt text>" # alt text
    caption: "<text>" # display caption under cover
    relative: false # when using page bundles set this to true
    hidden: true # only hide on current single page
editPost:
    URL: "https://github.com/<path_to_repo>/content"
    Text: "Suggest Changes" # edit text
    appendFilePath: true # to append file path to Edit link
---
可以通过创建来使用它archetypes/post.md
❯ hugo new --kind post archetypes/Page.md
下面的所有例子都使用 yml/yaml 格式,我建议使用 yml 而不是 toml ,因为它更容易阅读。
当然,作为云原生的配置文件, yaml 比 toml 更加受到我的 love 💌
hugo 的基础命令
添加内容:
你可以使用 hugo new 命令来添加新的内容,例如:
❯ hugo new posts/my-first-post.md
这个命令会在生成 content/posts/my-first-post.md 文件,
然后,编辑 content/posts/my-first-post.md 文件,添加你的内容。
生成所有的内容:
❯ hugo
上述命令会生成所有的页面,并把它们放在
public/目录中。
你可以使用 hugo server 命令来本地预览你的网站:
❯ hugo server -D
-D 参数意味着包括草稿内容。然后,在浏览器中访问 http://localhost:1313 来查看你的站点。
定义路径
默认的情况下,路径是强相关的,比如说你在哪个目录中定义,那么路径就是这个目录的路径,但是这并不是绝对的。
比如说上面:
❯ hugo new posts/my-first-post.md
该帖子的默认访问URL通常会是:
- http://localhost:1313/posts/my-first-post/
注意以下几点:
- 末尾的斜杠:Hugo默认生成的是"pretty URLs",这意味着它们会以斜杠结尾。你可以在Hugo的配置文件中修改这一行为。
- 草稿和发布:新创建的帖子默认是草稿状态(在帖子的头部信息中,
draft: true)。如果你使用hugo server来预览你的站点,并没有加-D参数,你是看不到草稿的。为了预览草稿内容,你需要使用hugo server -D。 - 自定义路径:如果你想要为特定的帖子定义一个自定义的路径,你可以在该帖子的头部信息(front matter)中使用
url属性来指定。
主题配置
接下来的环境,开始我们的主题配置,主题的配置使得 hugo 的主题得以丰富
默认主题 暗/亮
params:
    # defaultTheme: light
    # defaultTheme: dark
    defaultTheme: auto # to switch between dark or light according to browser theme
Archives 布局
在 content 目录中创建一个带有 archive.md 的页面,内容如下
.
├── config.yml
├── content/
│   ├── archives.md   <--- Create archive.md here
│   └── posts/
├── static/
└── themes/
    └── PaperMod/
并添加以下内容:
---
title: "Archive"
layout: "archives"
url: "/archives/"
summary: archives
---
注意:Archives 布局不支持多语言月份翻译。
启动
使用 hugo server 启动:
❯ hugo server
然后访问:http://localhost:1313/
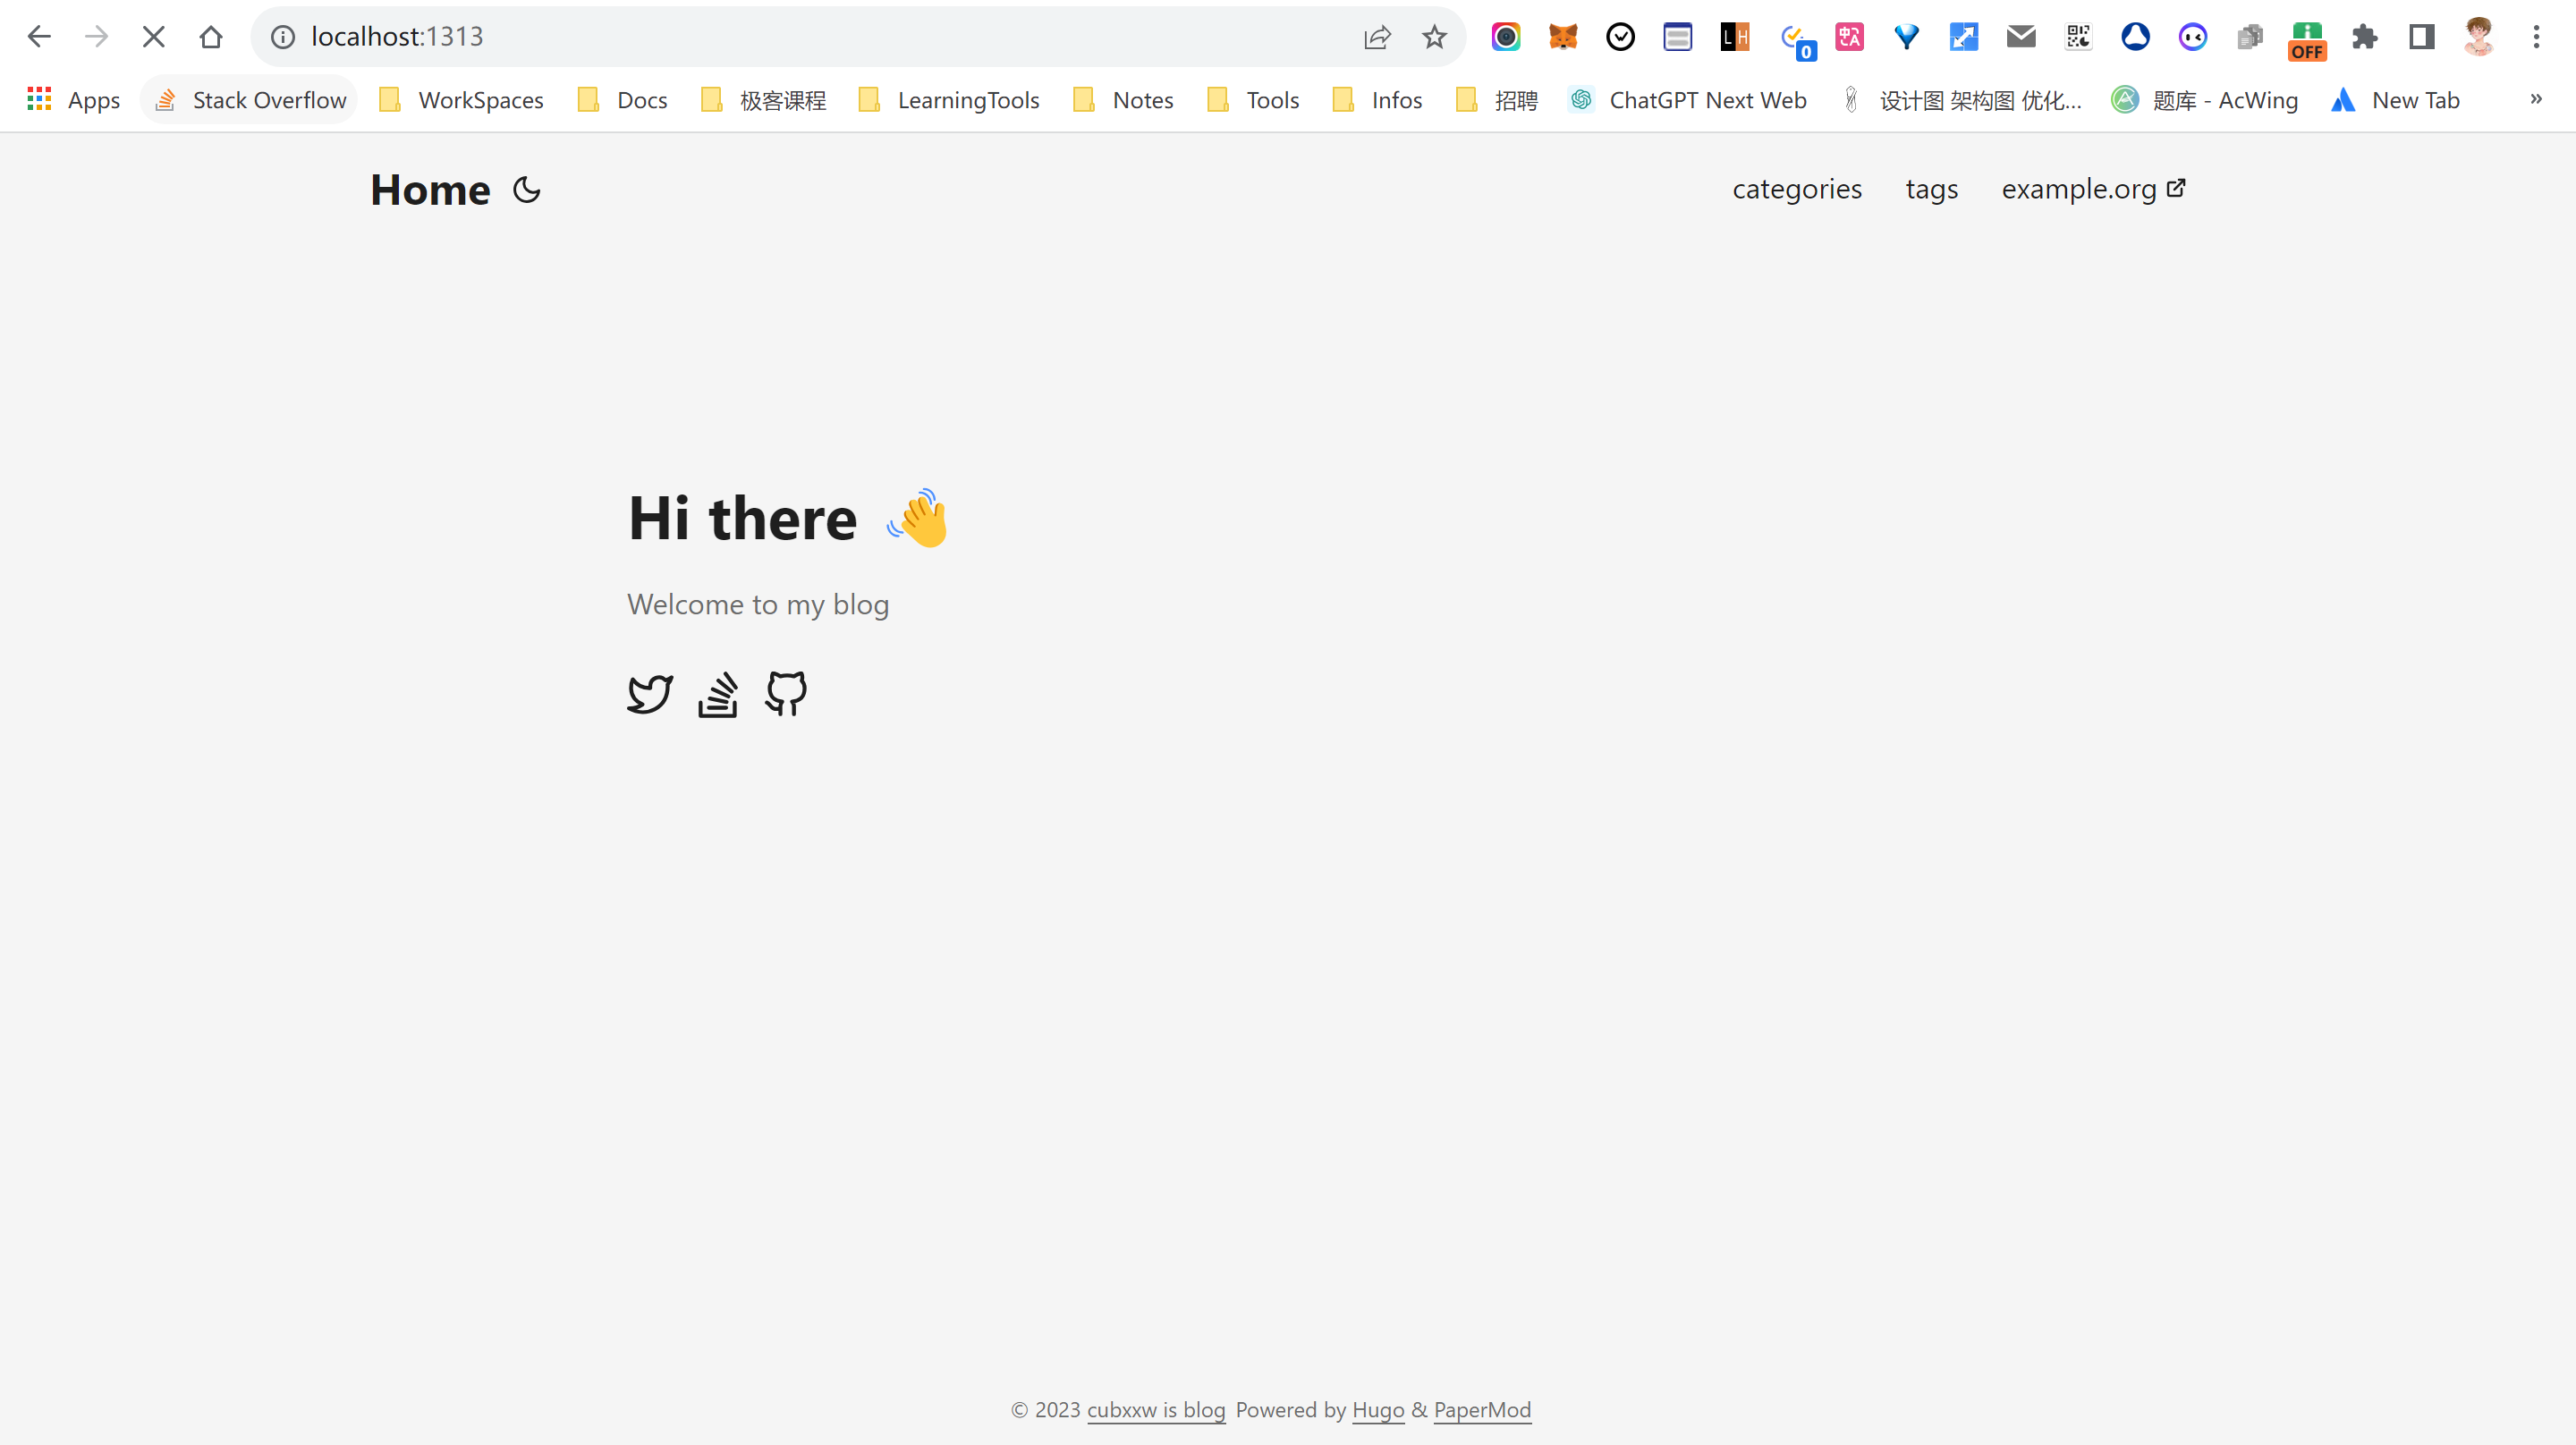
点击 月亮 ,支持设置 明暗 。
常规模式(默认模式)
使用第1个条目作为某些信息:
  homeInfoParams:
    Title: Hi there 👋
    Content: My name is Xinwei(bear) Xiong. My loyalty is to adventure 🤖
  socialIcons:
    - name: twitter
      url: https://twitter.com/xxw3293172751
    - name: stackoverflow
      url: https://stackoverflow.com/users/17393425/xinwei-xiong
    - name: github
      url: https://github.com/cubxxw
    - name: zhihu
      url: https://www.zhihu.com/people/3293172751
    - name: linkedin
      url: https://www.linkedin.com/in/cubxxw
    - name: bilibili
      url: https://space.bilibili.com/1233089591
    - name: youtube
      url: https://https//www.youtube.com/channel/UCd3qbRbMwYlh5uKneo_2m_w
    - name: liberapay
      url: https://liberapay.com/xiongxinwei/donate
    - name: email
      url: https://mail.google.com/mail/u/0/?fs=1&tf=cm&to=3293172751nss@gmail.com
    - name: weibo
      url: https://weibo.com/u/6248930985
Profile模式
将 Index/Home 显示为带有社交链接和图像的完整页面
在配置文件中添加以下内容:
params:
    profileMode:
        enabled: true
        title: "<Title>" # optional default will be site title
        subtitle: "This is subtitle"
        imageUrl: "<image link>" # optional
        imageTitle: "<title of image as alt>" # optional
        imageWidth: 120 # custom size
        imageHeight: 120 # custom size
        buttons:
            - name: Archive
            url: "/archive"
            - name: Github
            url: "https://github.com/"

    socialIcons: # optional
        - name: "<platform>"
            url: "<link>"
        - name: "<platform 2>"
            url: "<link2>"
BreadCrumb 导航
在文章标题上方添加 BreadCrumb 导航,以显示子章节和主页导航
params:
    ShowBreadCrumbs: true
可以禁用特定页面的封面:
---
ShowBreadCrumbs: false
---
编辑帖子链接
添加一个按钮,通过使用文章的文件路径链接到编辑目的地来建议更改。
对于站点配置用途:
Params:
    editPost:
        URL: "https://github.com/<gitlab user>/<repo name>/tree/<branch name>/<path to content>/"
        Text: "Suggest Changes" # edit text
        appendFilePath: true # to append file path to Edit link
可针对单个页面进行修改:
---
editPost:
    URL: "https://github.com/<path_to_repo>/content"
    Text: "Suggest Changes" # edit text
    appendFilePath: true # to append file path to Edit link
---
Icons 表情 & 图标
- https://github.com/adityatelange/hugo-PaperMod/wiki/Icons
配置文件变量
- https://github.com/adityatelange/hugo-PaperMod/wiki/Variables
部署
使用 GitHub actions 进行部署,在 Makefile 中集成一些高级的命令
下面是 Makefile 的配置:
###################################=> common commands <=#############################################
# ========================== Capture Environment ===============================
# get the repo root and output path
ROOT_PACKAGE=github.com/cubxxw/blog
OUT_DIR=$(REPO_ROOT)/_output
# ==============================================================================

# define the default goal
#

SHELL := /bin/bash
DIRS=$(shell ls)
GO=go

.DEFAULT_GOAL := help

# include the common makefile
COMMON_SELF_DIR := $(dir $(lastword $(MAKEFILE_LIST)))
# ROOT_DIR: root directory of the code base
ifeq ($(origin ROOT_DIR),undefined)
ROOT_DIR := $(abspath $(shell cd $(COMMON_SELF_DIR)/. && pwd -P))
endif
# OUTPUT_DIR: The directory where the build output is stored.
ifeq ($(origin OUTPUT_DIR),undefined)
OUTPUT_DIR := $(ROOT_DIR)/_output
$(shell mkdir -p $(OUTPUT_DIR))
endif

# BIN_DIR: The directory where the build output is stored.
ifeq ($(origin BIN_DIR),undefined)
BIN_DIR := $(OUTPUT_DIR)/bin
$(shell mkdir -p $(BIN_DIR))
endif

ifeq ($(origin TOOLS_DIR),undefined)
TOOLS_DIR := $(OUTPUT_DIR)/tools
$(shell mkdir -p $(TOOLS_DIR))
endif

ifeq ($(origin TMP_DIR),undefined)
TMP_DIR := $(OUTPUT_DIR)/tmp
$(shell mkdir -p $(TMP_DIR))
endif

ifeq ($(origin VERSION), undefined)
VERSION := $(shell git describe --tags --always --match="v*" --dirty | sed 's/-/./g')	#v2.3.3.631.g00abdc9b.dirty
endif

# Check if the tree is dirty. default to dirty(maybe u should commit?)
GIT_TREE_STATE:="dirty"
ifeq (, $(shell git status --porcelain 2>/dev/null))
	GIT_TREE_STATE="clean"
endif
GIT_COMMIT:=$(shell git rev-parse HEAD)

# COMMA: Concatenate multiple strings to form a list of strings
COMMA := ,
# SPACE: Used to separate strings
SPACE :=
# SPACE: Replace multiple consecutive Spaces with a single space
SPACE +=

## run-default: Run hugo server with default mode.
run-default:
	@$(TOOLS_DIR)/hugo server -D --gc -p 13132 --config config.default.yml

## run-profile-mode: Run hugo server with profile mode.
run-profile-mode:
	@$(TOOLS_DIR)/hugo server -D --gc -p 13133 --config config.profileMode.yml

## chroma-css: Generate chroma css.
chroma-css:
	@$(TOOLS_DIR)/hugo gen chromastyles --style=dracula > assets/css/lib/chroma-dark.css
	@$(TOOLS_DIR)/hugo gen chromastyles --style=github > assets/css/lib/chroma-light.css

## run: Run hugo server.
.PHONY: run
run: tools.verify.hugo
	@$(TOOLS_DIR)/hugo
	@$(TOOLS_DIR)/hugo server -D --gc -p 13131 --config config.yml

## build: Build site with non-production settings and put deliverables in ./public
.PHONY: build
build: tools.verify.hugo module-check
	@$(TOOLS_DIR)/hugo --cleanDestinationDir --minify --environment development

## module-check: Check if all of the required submodules are correctly initialized.
.PHONY: module-check
module-check:
	@git submodule status --recursive | awk '/^[+-]/ {err = 1; printf "\033[31mWARNING\033[0m Submodule not initialized: \033[34m%s\033[0m\n",$$2} END { if (err != 0) print "You need to run \033[32mmake module-init\033[0m to initialize missing modules first"; exit err }' 1>&2

## module-update: Updating themes
module-update: tools.verify.hugo
	@git submodule update --remote --merge

## clean: Clean all builds.
.PHONY: clean
clean:
	@echo "===========> Cleaning all builds TMP_DIR($(TMP_DIR)) AND BIN_DIR($(BIN_DIR))"
	@-rm -vrf $(TMP_DIR) $(BIN_DIR)
	@echo "===========> End clean..."

## help: Show this help info.
.PHONY: help
help: Makefile
	@printf "\n\033[1mUsage: make <TARGETS> ...\033[0m\n\n\\033[1mTargets:\\033[0m\n\n"
	@sed -n 's/^##//p' $< | awk -F':' '{printf "\033[36m%-28s\033[0m %s\n", $$1, $$2}' | sed -e 's/^/ /'

################################### Tools #####################################

BUILD_TOOLS ?= hugo

## tools.verify.%: Check if a tool is installed and install it
.PHONY: tools.verify.%
tools.verify.%:
	@echo "===========> Verifying $* is installed"
	@if [ ! -f $(TOOLS_DIR)/$* ]; then GOBIN=$(TOOLS_DIR) $(MAKE) tools.install.$*; fi
	@echo "===========> $* is install in $(TOOLS_DIR)/$*"

## tools: Install a must tools
.PHONY: tools
tools: $(addprefix tools.verify., $(BUILD_TOOLS))

## tools.install.%: Install a single tool in $GOBIN/
.PHONY: tools.install.%
tools.install.%:
	@echo "===========> Installing $,The default installation path is $(GOBIN)/$*"
	@$(MAKE) install.$*

.PHONY: install.addlicense
install.addlicense:
	@$(GO) install github.com/google/addlicense@latest

.PHONY: install.hugo
install.hugo:
	@$(GO) install github.com/gohugoio/hugo@latest
当然 Makefile 是针对本地的,如果是远程服务器就需要依靠 github actions:
# Sample workflow for building and deploying a Hugo site to GitHub Pages
name: Deploy Hugo site to Pages

on:
  # Runs on pushes targeting the default branch
  push:
    branches: ["main"]

  # Allows you to run this workflow manually from the Actions tab
  workflow_dispatch:

# Sets permissions of the GITHUB_TOKEN to allow deployment to GitHub Pages
permissions:
  contents: read
  pages: write
  id-token: write

# Allow only one concurrent deployment, skipping runs queued between the run in-progress and latest queued.
# However, do NOT cancel in-progress runs as we want to allow these production deployments to complete.
concurrency:
  group: "pages"
  cancel-in-progress: false

# Default to bash
defaults:
  run:
    shell: bash

jobs:
  # Build job
  build:
    runs-on: ubuntu-latest
    env:
      HUGO_VERSION: 0.114.0
    steps:
      - name: Install Hugo CLI
        run: |
          wget -O ${{ runner.temp }}/hugo.deb https://github.com/gohugoio/hugo/releases/download/v${HUGO_VERSION}/hugo_extended_${HUGO_VERSION}_linux-amd64.deb \
          && sudo dpkg -i ${{ runner.temp }}/hugo.deb
      - name: Install Dart Sass
        run: sudo snap install dart-sass
      - name: Checkout
        uses: actions/checkout@v3
        with:
          submodules: recursive
      - name: Setup Pages
        id: pages
        uses: actions/configure-pages@v3
      - name: Install Node.js dependencies
        run: "[[ -f package-lock.json || -f npm-shrinkwrap.json ]] && npm ci || true"
      - name: Build with Hugo
        env:
          # For maximum backward compatibility with Hugo modules
          HUGO_ENVIRONMENT: production
          HUGO_ENV: production
        run: |
          hugo \
            --minify \
            --baseURL "${{ steps.pages.outputs.base_url }}/"
      - name: Upload artifact
        uses: actions/upload-pages-artifact@v2
        with:
          path: ./public

  # Deployment job
  deploy:
    environment:
      name: github-pages
      url: ${{ steps.deployment.outputs.page_url }}
    runs-on: ubuntu-latest
    needs: build
    steps:
      - name: Deploy to GitHub Pages
        id: deployment
        uses: actions/deploy-pages@v2
评论插件
要添加评论,请创建一个 html 文件
layouts/partials/comments.html
并粘贴您的评论提供商提供的代码
也在配置中添加这个
params:
    comments: true
我使用 :https://utteranc.es/ 这是一个基于 GitHub 的评论的插件
多语言
- https://gohugo.io/content-management/multilingual/#menus
Hugo 支持同时创建多种语言的网站。
languages应该在站点配置的一个部分中定义可用的语言。
按文件名翻译
/content/about.en.md/content/about.fr.md
第一个文件被指定为英语,并链接到第二个文件。第二个文件被指定为法语并链接到第一个文件。
它们的语言是根据作为后缀添加到文件名的语言代码指定的。
通过具有相同的路径和基本文件名,内容片段被链接在一起作为翻译的页面。
如果文件没有语言代码,则将为其分配默认语言。
按内容目录翻译
当然也可以根据文件目录去翻译,该系统对每种语言使用不同的内容目录。每种语言的内容目录都使用 contentDir 参数设置。
languages:
  en:
    contentDir: content/english
    languageName: English
    weight: 10
  fr:
    contentDir: content/french
    languageName: Français
    weight: 20
contentDir 的值可以是任何有效路径-甚至是绝对路径引用。唯一的限制是内容目录不能重叠。
最后的示例如下:
/content/english/about.md/content/french/about.md
第一个文件被指定为英语,并链接到第二个文件。第二个文件被指定为法语并链接到第一个文件。
它们的语言是根据它们所在的内容目录指定的。
通过具有相同的路径和基本名称(相对于其语言内容目录),内容片段被链接在一起作为翻译页面。
绕过默认链接
任何页面共享相同的 translationKey 集在封面将被链接为翻译的网页,无论基地名称或位置。
考虑以下示例:
/content/about-us.en.md/content/om.nn.md/content/presentation/a-propos.fr.md
translationKey: about
通过在所有三个页面中将 translationKey front matter参数设置为 about ,它们将被链接为翻译页面。
使用 hugo new content 生成多语言内容
下面给定的是翻译的文件:
针对同一目录:
hugo new content posts/my-hugo.en.md
hugo new content posts/my-hugo.de.md
针对不同目录:
hugo new content content/en/posts/test.md
hugo new content content/de/posts/test.md
hugo new content content/zh/posts/test.md
hugo new content content/fr/posts/test.md
hugo new content content/es/posts/test.md
hugo new content content/zh-tw/posts/test.md
我们将以下参数添加到我们的配置文件中:
# config.yaml
languages:
  en:
    languageName: English
    weight: 1
  fr:
    languageName: Français
    weight: 2
  es:
    languageName: Spanish
    weight: 3
现在,我们的语言将可以使用site.Languages并按 排序Weight。越低……越优先。正如我们稍后将介绍的,强烈建议将默认语言放在第一位。